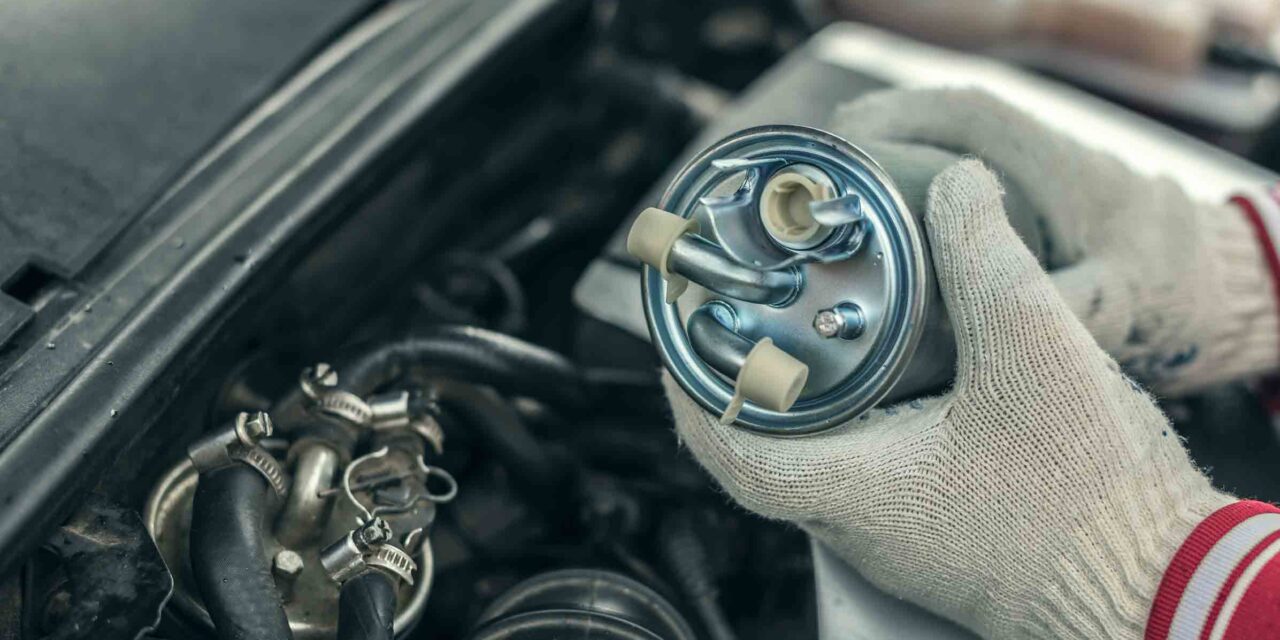
If the engine is experiencing a hard start or no-start condition, it is recommended you check if you have a clogged fuel filter before replacing the fuel pump. Symptoms of a clogged filter include the engine stalling or sputtering, idling issues, accelerating problems, exhaust fumes odor, and carburetor or injector issues – all similar to a fuel pump failure but not!
Before starting to replace the clogged fuel filter, make sure you have the appropriate fuel line fitting tools, such as a line wrench.
Step 1: Bleed off the pressure in the fuel delivery system
Make sure you bleed off the pressure in the system. Remove the gas cap? and then the fuel pump relay. Next, start the vehicle and run until it stops or if you’ve connected a pressure gauge, then open up the relief valve on the pressure gauge to allow the pressure to bleed off.
Step 2: Remove the clogged fuel filter
Typical Chevy fuel filter
When removing a fuel filter with a shoulder nut, be sure and use a wrench to hold the back up on the fuel filter while removing the line. Unthread the inlet and outlet fittings; it is advisable to use a line wrench. Keep in mind that the fuel filter will have fuel in it and will drain out as you remove the filter. Always capture it in an approved fuel storage container.
Typical Ford Fuel filter
First, you will note there are safety retainers on both the inlet and outlet lines. Insert a release tool in the end of the fuel line, turn the fuel line slightly, and work it off. Now, you can remove the safety retainer on the inlet line and then remove the fitting. Next, remove the fuel filter from its retaining bracket. Be sure and dispose of the fuel filter properly. Also, always before installing the new fuel filter, be sure and inspect the fuel line fittings to make sure they are not damaged.
Step 3: Install the fuel filter
Typical Chevy fuel filter
Place the new filter in the bracket and reattach the inlet and outlet line.
Typical Ford fuel filter
From the fuel filter fittings, there is a horseshoe-type clip. Some applications will require the use of this to install the fuel line. Notice the fuel filter fitting is marked on one end with the word “IN”; this will go toward the fuel tank. Start the fuel filter into the bracket from the front of the vehicle, spreading the bracket and sliding the fuel filter in. Then, reinstall the fuel inlet line, pushing it on until you hear it click. You can slightly pull back on it to make sure it is fully seated. Next, reinstall the safety retainer on the inlet line. Then reinstall the outlet line, pushing it on until you hear it click and reinstall the safety retainer on the outlet line.
Step 4: Purge air from the fuel delivery system
Any time you have the fuel delivery system open, it is recommended you purge the air from the system. To do this, cycle the key two or three times before cranking the engine over.
![[Vehicle Fitment]: Compatible with Dodge Dakota 2004-2010, Compatible with Durango 2004-2009, Nitro 2007-2011, Ram 1500 2004-2010; Compatible with Jeep Commander 2006-2010, Grand Cherokee 2005-2010, Liberty 2004-2012; Compatible with Mitsubishi Raide...](https://m.media-amazon.com/images/I/41n6pS4S7WL._SL100_.jpg)

![[PRODUCT INFORMATION] - HiSport fuel injector 0280158077 0280158091 FJ1000 pack in 6 PCS, 4 holes, made of metal & composite plastic, function more consistent and smoother, more accurate adjustment to account for extremes of cold temperatures,easier ...](https://m.media-amazon.com/images/I/41QXnLtOszL._SL100_.jpg)

![[Vehicle Fitment]: Compatible with Kia Magentis 2006-2010 L4 2.4L, Optima 2006-2010 L4 2.4L (Vin 3) [Reference Number]: 311102G100, 311102G100DS, E8782M, FG1730, P76430M, SP3023M [Package Contents]: 1 x Fuel Pump Assembly, Packaging Type: Box [Relate...](https://m.media-amazon.com/images/I/41NHWID2oQL._SL100_.jpg)
Thanks for explaining how to replace a clogged fuel filter, such as how you explain how it’s important to hold it back with a wrench when removing the line. Knowing how to do it would be important to ensure it’s done correctly so you can prevent problems or mistakes. If you need a replacement, you’d probably want to ensure you know how to do it and that you have the right type of fuel filter for your vehicle so that it can fit and work properly.