Fuel pumps are powered by electricity and are connected to a vehicle’s electrical system. Like batteries — and alternators for that matter — fuel pumps have both a positive and negative terminal. In addition to power and ground wires, most fuel pumps modules also have a fuel level sender. These are connected to the ECM (Engine Control Module) or instrument cluster and relay information about the amount of fuel in the tank to the fuel gauge. In other words, fuel pumps not only deliver fuel to the fuel injection system, they also act as fuel level monitors.
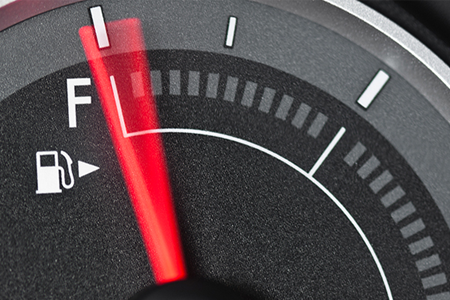
Fuel Gauge
If a fuel gauge is not working, the first thing to do is check the electrical connections. Corrosion and debris can often gum up the terminals and connectors, which prevent the fuel pump from sending information to the instrument cluster. Once the terminals and connectors are clean, inspect the wires from the fuel tank to the front of the vehicle. Replace or repair the wires if there are pinches, cuts or gouges in them.
Fuel Level Sender
If the wires are okay, the connections are clean, and the continuity is checked, the fuel level sender is the next component to evaluate. Doing so will require removing the pump from the tank. After the unit is removed, check the continuity of the sender using an ohmmeter. There is a range that the sender has from empty to full. If you need to know these specs, please refer to your service information. While the ohmmeter is connected, also look for open spots in the card. While moving the arm from empty to full, make sure that the sender sweep is consistent and that the ohms do not fall off. In short, an ohmmeter is a key to discovering whether or not a fuel pump has failed or if the wiring is the issue. Once the fuel level sender wire shows continuity and you have proven that the positive and negative wires from the pump have continuity, the next step is to remove the pump from the tank and test it. Those are the three means of determining whether the sender is bad or the wires are faulty.


![[12580426 Fuel injectors] - Fuel Injectors provide an alternative plug and play solution to fuel delivery for diesel applications. All units are flow tested and balanced and include O-rings and gaskets. All new units,Provides precise control of fuel ...](https://m.media-amazon.com/images/I/51ioqg2ukwL._SL100_.jpg)


