
Whether you’re completely rebuilding that classic beauty or just tuning its engine, you’ll probably have to replace that decades-old fuel tank. There’s no way to know how much debris, rust or old rags are in there, and you certainly don’t want to find out by hooking up a cruddy fuel delivery system to your new engine.
Why Do I Need A New Re-Pop Gas Tank?
- Anything in the tank that isn’t fuel is junk. And having junk in the tank carries the risk of clogging or contaminating your fuel lines and engine.
- If the sock filter is clogged, then you’ve lost your first line of defense against gunk. Since you can only reach the sock filter by removing the tank, you might as well replace the old tank anyway and eliminate other potential problems.
How To Install A Re-Pop Tank
Before you begin, make sure you’re following safe practices. Gasoline is very flammable, so avoid working in an enclosed area, and keep on hand a fire extinguisher that’s approved for fuel fires. Double check your fittings and clamps for leaks before putting fuel into the system and use line wrenches to achieve the proper torque for a tight seal.
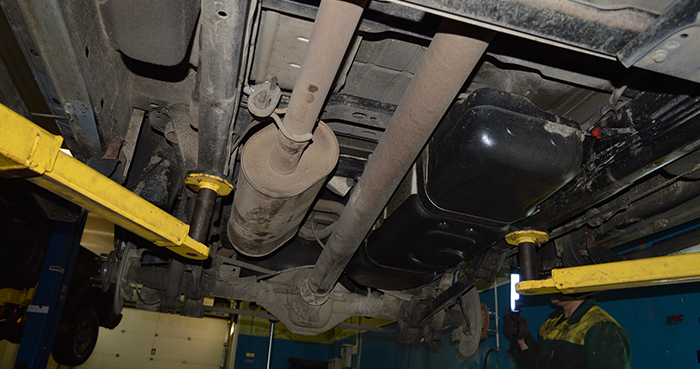
All tank installs are different but here is a basic install. (or something like this)
- Carefully remove the old tank straps and gas tank, then attach the fronts of the straps for the new re-pop tank.
- Place the hose clamps onto the connector hose, then fit it onto the filler neck.
- Put the o-ring on the pickup assembly, then gently insert the whole shebang into the new tank.
- Using a flat blade screwdriver, fasten the pickup assembly retaining ring in its proper position. Fit the fuel line and its clamp onto the pickup assembly.
- From inside the car trunk, fit the filler neck sleeve into the body.
- Insert the filler neck, but don’t fasten it yet. It’ll need to wiggle when you install the tank.
- Fasten the rear tank strap bolts in place.
- With the help of a friend, mount the re-pop tank and fasten the straps by tightening alternate sides a little bit at a time. Make sure the filler hose is lined up correctly.
- Insert your new fuel line by running it in from underneath, turning the line as it goes in. (This is easier with the fender removed.) Trim the line as needed.
- Make sure all the hose clamps and fittings are tight. Screw in the filler neck assembly.
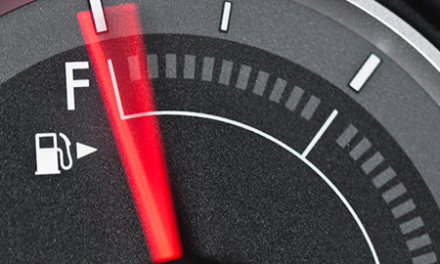
Fill ‘er up!
